
How about a Guest Post?
Today is Tutorial Tuesday!!
I have become blog friends with Jessica over at
Today is Tutorial Tuesday!!
I have become blog friends with Jessica over at
She has a wonderful husband who is in the Coast Guard,
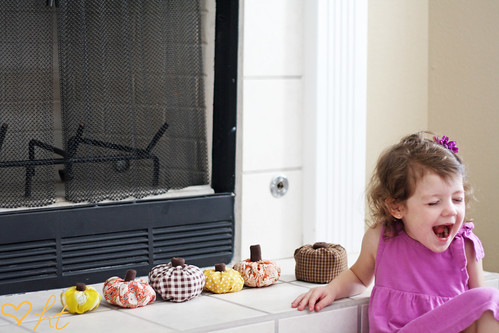
and an Adorable little girl
they have recently moved and in the midst of moving
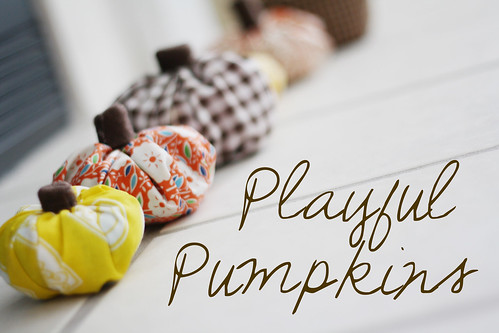
Jessica has agreed to share her little pumpkins that she made
and how to make them yourself!
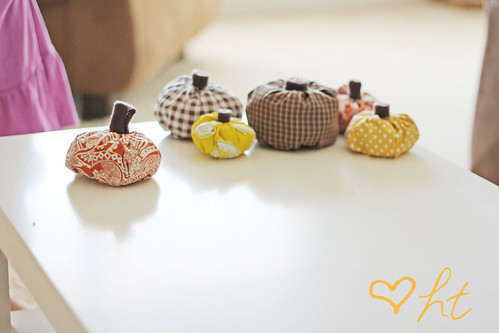
They are so cute and so easy to make!
ENJOY!!!
♥*♥*♥*♥

I'm very happy to be here and share with you this quick fabric pumpkin tutorial. It is so nice to have craft projects that don't require a lot of time and can be done while your little one is up and running around and this is one of them.


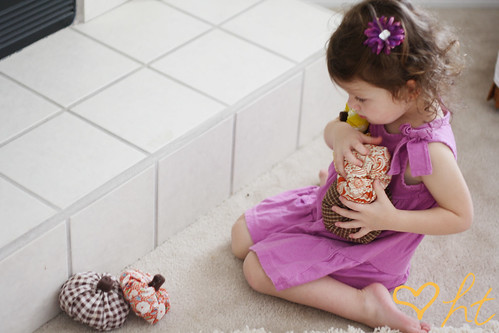
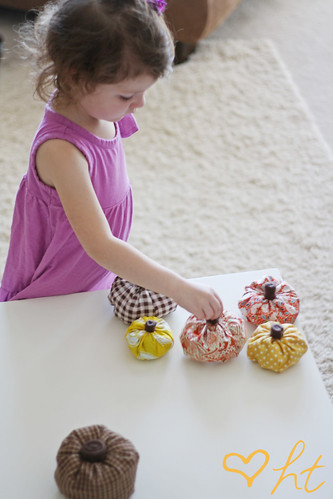
then...well, they just went everywhere. That is when I decided these would be playful pumpkins. So, for those of you who want to make some real quick fabric pumpkins yourself, here is how I made them:
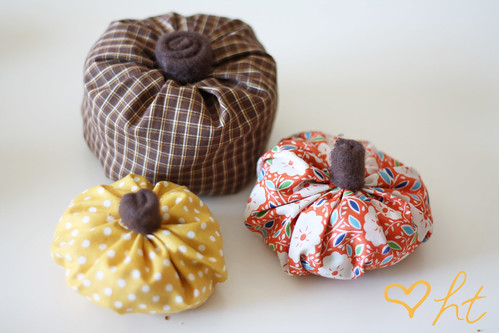
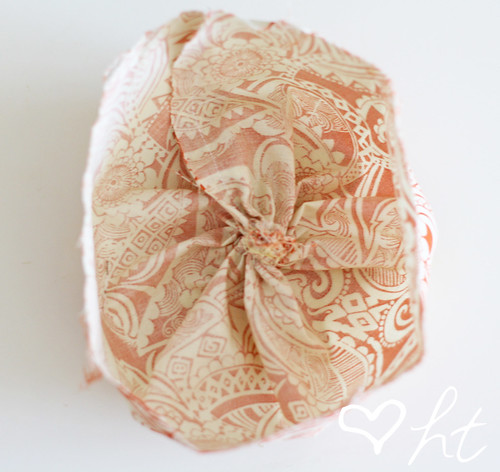
Grab some fabric and cut them into rectangles. The long side will make it more scrunched up looking the longer you make it, and the short sides will be the approximate height.

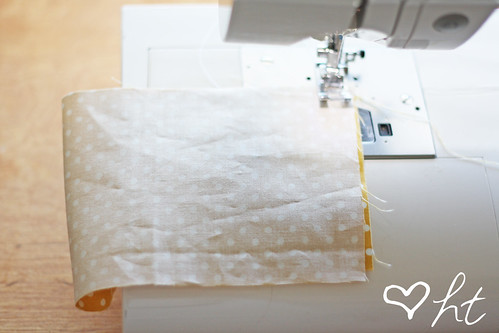
Now baste and gather the end that will be the bottom. I used a needle and thread, but you could baste it with a sewing machine too.

Then knot it really well and turn right side out.

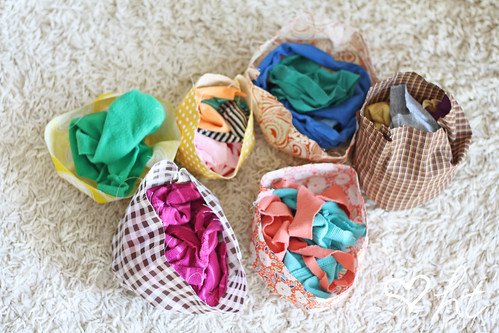
Fill it up now. I just used t-shirt scraps because they are heavy and would keep the pumpkin weighted well. You could also put some beans or rice in the bottom to help give some weight then finish off the top with stuffing.
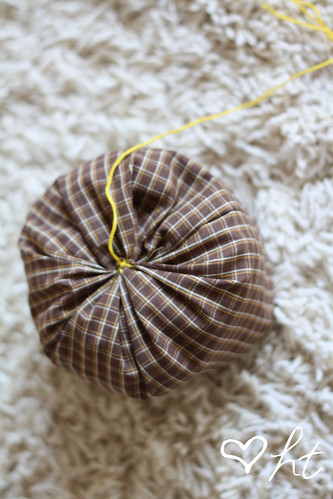
Now baste and gather the top, making sure to leave a long end. Knot it really well too.
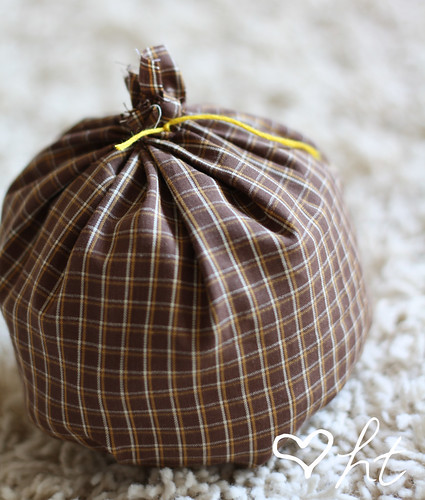
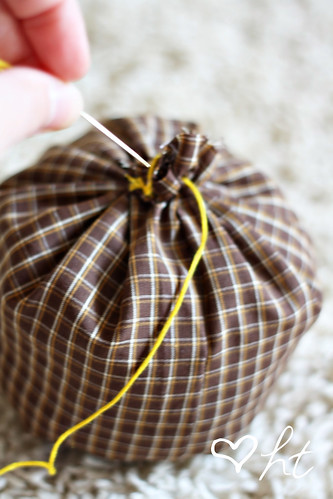
Now with the long end, put it in the needle and thread right through the pumpkin coming out at the center bottom. Pull it tight, causing the top of the pumpkin to come down some, and knot the thread good on the bottom. I just felt like this helped give it a more indented look for the stem of the pumpkin.
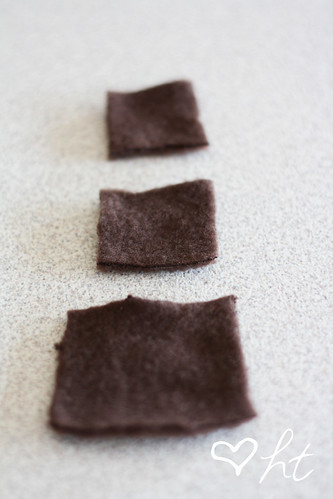
I then cut some fleece pieces for the stems. I played around with the size.
Fold down and hot glue together. I just did a row of glue on the bottom and the sides.
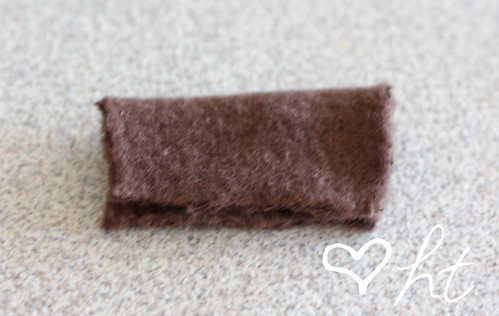
Then roll it up and glue in place. I usually had to cut some off the bottom for the look I wanted too.
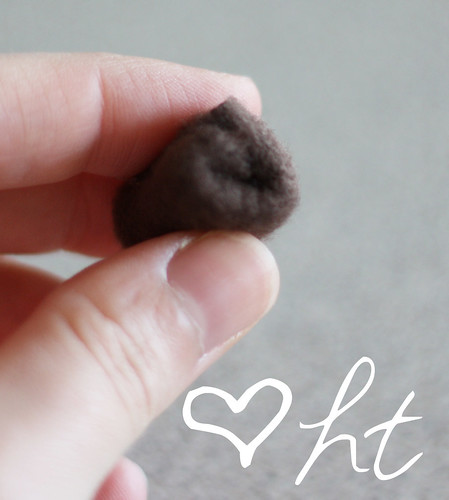
Then hot glue them on top of the pumpkin (or hand sew it on).
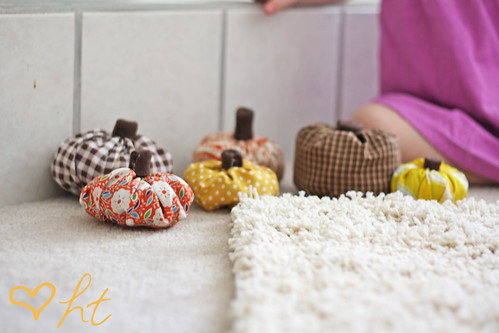
Then that is it! Now you have some cute fall decorations. Thank you Kelly-Jo for having me :)
Then that is it! Now you have some cute fall decorations. Thank you Kelly-Jo for having me :)


3 Lovely Comments:
I LOVE these. I'm sooo gonna make them for my In-Laws.
Aren't they though?!!! I really liked these too!!
they are so adorable! cute pumpkins!!!
Post a Comment