
Welcome to the first Handmade for Christmas at the Happy Homemaker and Momma! I want you to be able to see the creative things that are available out there in the cyber world. My goal is to bring simple-but elegant tutorials to you so that you can make these beautiful gifts easily and without breaking the budget or being over complicated! I also made a blog buttons for this celebration. If you would like to celebrate with me and be featured just leave a comment and a way to correspond with you. Here are my buttons:


Hello everyone!
I'm so excited to be guest blogging here today! It is always fun to visit other blogs and find new ones to read, so I was so happy when Kelly Jo contacted me!
I'm Sumo, from Sumo's Sweet Stuff!


My real name is Summer, but my husband nicknamed me Sumo when we were dating. (Should I be offended?) Now he's got all of my family, as well as lots of our friends, calling me Sumo. I think Aunt Sumo sounds pretty great, don't you? I live in Utah with my husband, and our two beautiful daughters - Remi & Reece!

I started Sumo's Sweet Stuff last May as a place to keep some of my crafting projects so that my personal blog wasn't overrun with them. Somehow, that developed into a place to host giveaways, share tutorials, share recipes, and feature fellow bloggers' ideas and blogs! I also use my blog to promote my etsy shop, so if you're ever in the market for some baby girl accessories, or even a little something for yourself, come on over! Every Monday is Market Yourself Monday, where you can link up your latest projects, and visit other blogs to get some inspiration!


Continue doing this...you can see the progression here. Make it as long as you like!
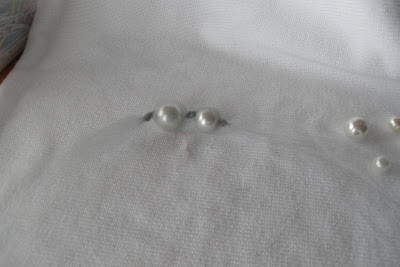


When you get to where you want it to end, you'll want to either make a little loop like I've shown here, or just cut it off.

Loop your jump ring through the loop. If you've just cut the tulle, then you can just string your jump ring through the tulle (does that make sense?) That's the great thing about tulle; it's going to hold it in place!

Attach your chain to both sides, using jump rings. Then add a clasp to one end of your chain.


Tie a cute little tulle bow on one side. Fabulous!

For a different version, you could make a satin flower and glue that to one side, and do two strings of pearls like my friend did.

Thanks so much for having me over here today! I hope you have fun making your new jewelry!


0 Lovely Comments:
Post a Comment