
How about another Guest Post?
Today is Tutorial Tuesday!!
I have a wonderful treat for you
Sarah from
Has agreed to share her tutorial on how to make two placemats into an apron!
Here is a little info on her:
I'm a grad student, studying library and information science. I love reading, easy sewing projects, cooking and baking, and figuring out what's going to happen next.
*********
Hope you ENJOY
♥*♥*♥*♥
Hi everyone. I'm Sarah from SimplyStepBack, and I'm so excited to be posting here on Happy Homemaker and Momma. I love doing easy upcycling projects, thrift store finds, and trying new recipes. I hope you enjoy this apron tutorial as much as I do!
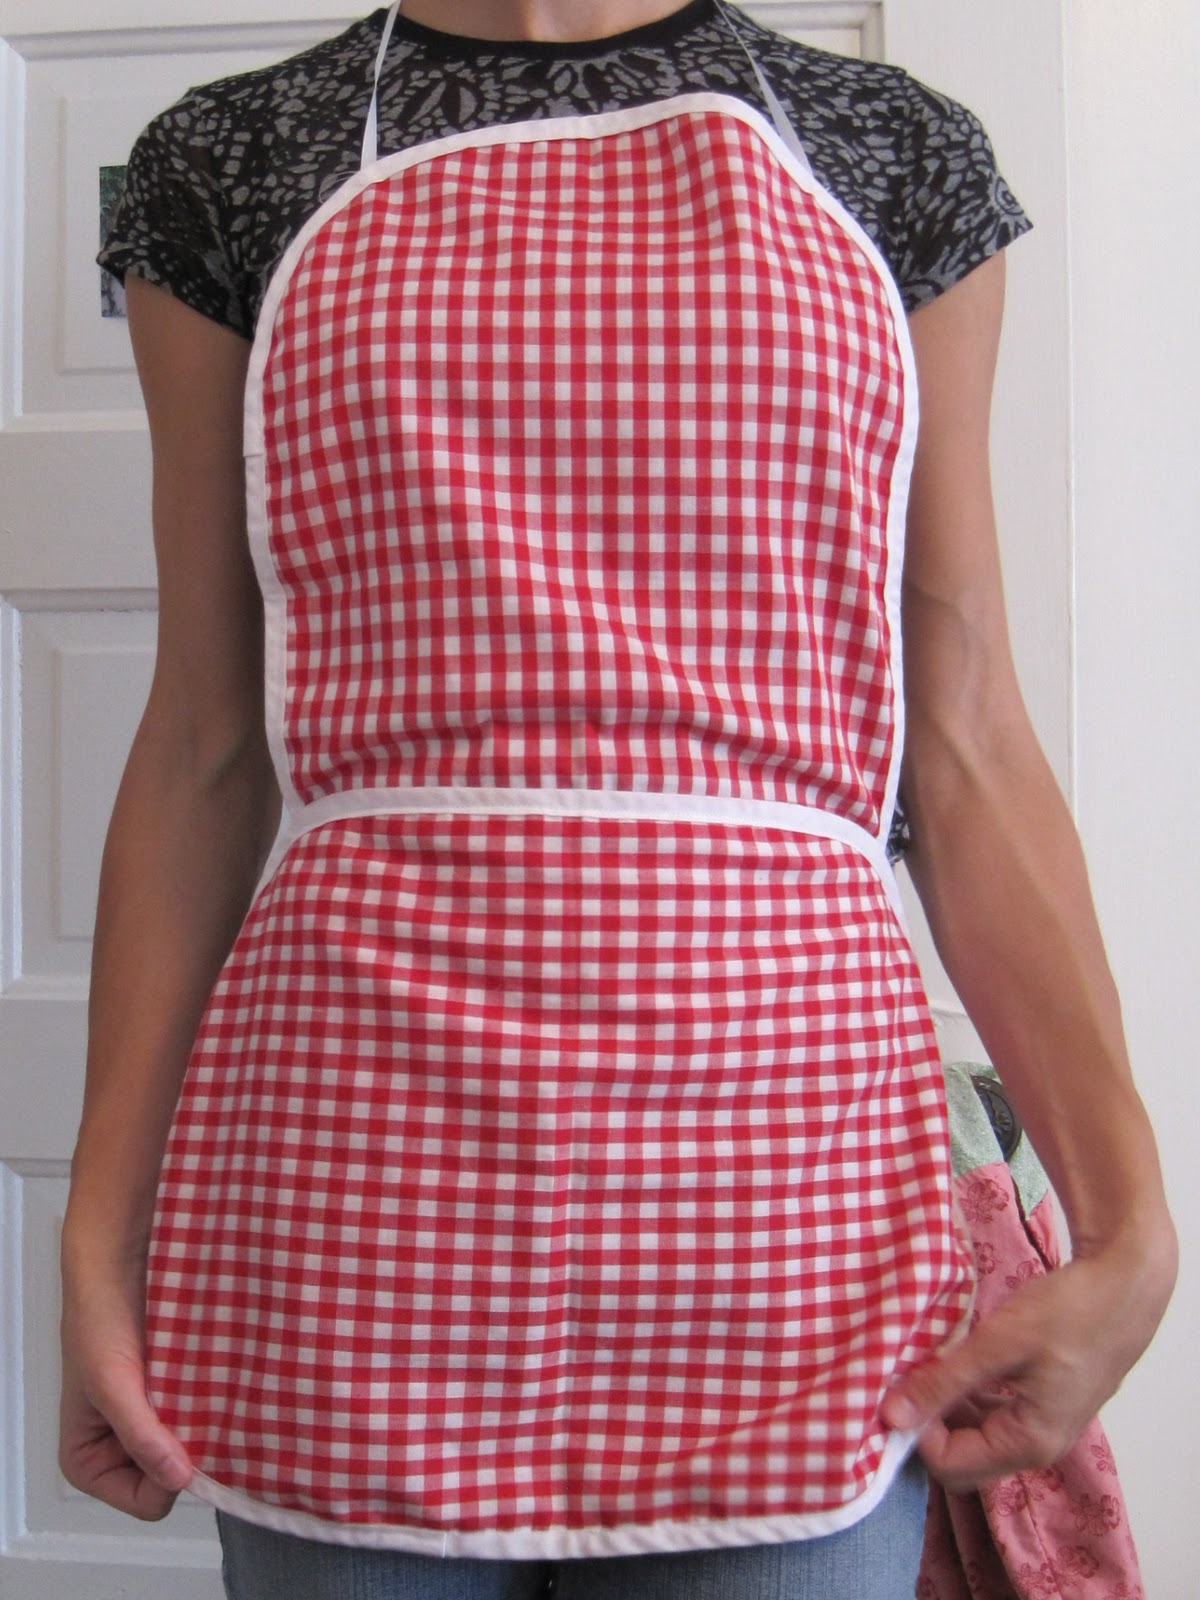
 As soon as I saw these two placemats, I thought they'd look better as an apron. And when I say this is an easy upcycle, I really mean easy. All the edges are finished; you've just got to sew the pieces together. The pockets are optional, but you'll probably have enough fabric, and I think they really add to the overall cuteness of the apron. This project is pretty simple and leaves a lot of room for any embellishments you'd like. I whipped up the apron and the tutorial both in no time at all, and I think you'll be impressed with how fast you can do the same!
How to Make the Apron Body
1. First, decide how long you want the apron to be, and arrange the pieces to fit that length. I let them overlap quite a bit, a good four inches or more. That overlap is what you'll use to make the pockets. Of course, the pocket can be made out of any other fabric, so don't worry if you don't have a lot of extra here.

2. Pin in place, and sew across the middle to join the pieces. I wanted that white edge to show the middle, so I just stitched over the existing seam. If your placemats don't have a finished edge that you want to be visible, flip it over and stitch with right sides together so that when you unfold it, you just won't see that seam at all.

3. Cut two lengths of ribbon for the waist ties and snip the ends triangularly. I used a 1 inch wide white ribbon. You could use lengths of fabric if you like, or whatever matches your placements; it's up to you.

4. Pin the unsnipped ends of the ribbon to the wrong side of the apron at the place where the placemats are joined together, lining up where you'll stitch them with an existing seam. Stitch across. Do the same for both sides.

5. Cut another length of ribbon for the neck part, a bit longer than you think you'll need. I used a 1/4" white ribbon for this part, but again, use whatever you like or have on hand.
6. Put the apron on, and hold up the top. Pin the ends of the neck ribbon in place so it holds up the top how you want it to sit.

7. Stitch the ribbon ends on over the existing seam. If you don't want to make pockets, you're finished! It still looks great without them. If you do want to add the pockets, keep scrolling down.
How to Make the Apron Pockets
1. Lay the apron flat, and fold the top over, exposing the overlap between the placemats.

2. Cut straight across.

3. If you want, you can make a long shallow pocket, and leave this piece as is. I wanted two little ones, so I cut it in half. If you want one deep pocket, still go ahead and cut it in half.

4. If you want one deep pocket, sew these two pieces wrong sides together on the long edge. If you want two small ones, fold over the long side and pin. Then stitch straight across, finishing this edge.

5. Pin your pocket where you want it to sit on the apron. The side you just finished should be the top of the pocket. You still have one unfinished side, so remember to fold it under when you pin.

Here's what mine looked like with the pockets all pinned on.

6. Stitch around the pocket- carefully, because you'll be able to see these seams! And that's it! My placemats had a pretty busy pattern, so I stopped here, but you might want to add some cute ruffles or fabric flowers. I think I'll still use my other apron for baking- it's got more surface area to wipe floury hands, but this one will be lots of fun for cooking.


0 Lovely Comments:
Post a Comment